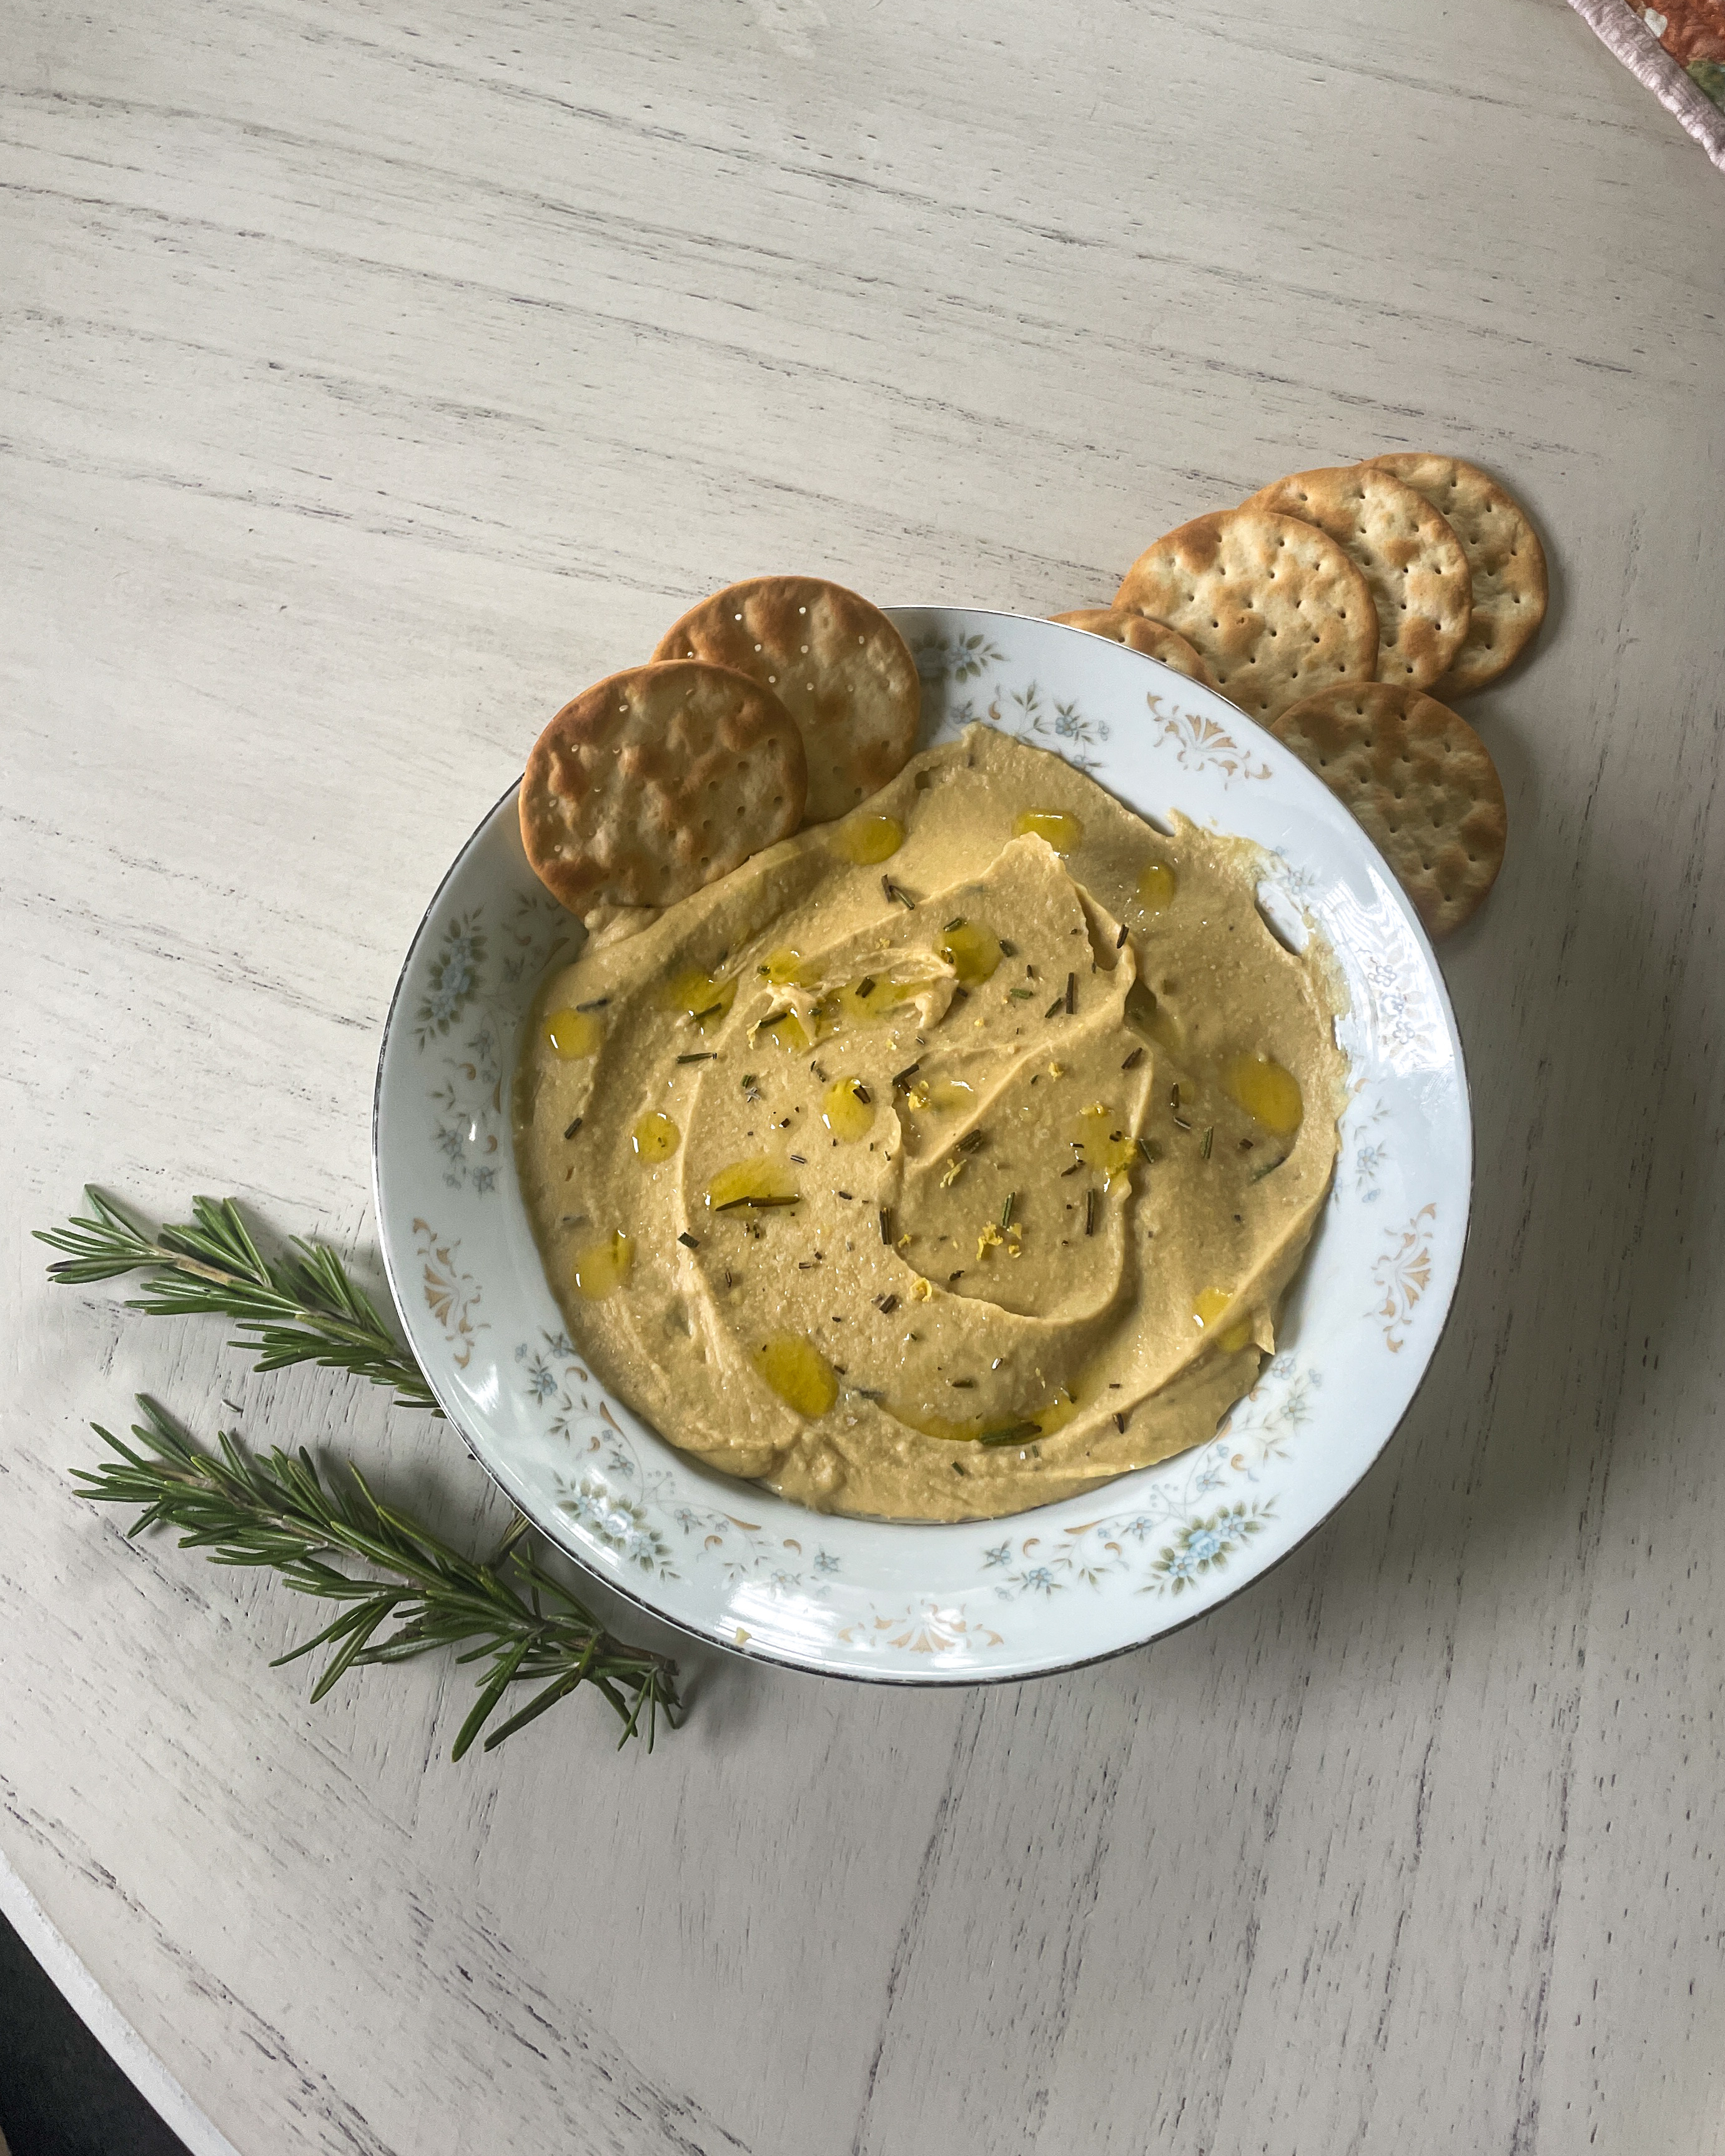
Every home cook should have a delicious homemade dip up their sleeve. Something reliable, crowd-pleasing, and memorable. Mine is this roasted rosemary hummus. It’s smooth, savory, and juuuust different enough to generate intrigue from even the most doubtful hummus skeptics. Personally, I can never have just one bite, and I hope you love it just as much!
Is it worth making your own hummus?
Yes. One thousand times yes. There is absolutely a time and place for store-bought hummus (my personal favorite is Aldi’s Roasted Red Pepper Hummus), but you get so much more bang for your buck when you make it yourself. Plus, you have total control over the flavor and texture, and you get to wow your loved ones when you put a bowl of it in front of them and say, “Try some hummus—I made it myself!”
What do you need to make roasted rosemary hummus?
The main ingredients of hummus are chickpeas (also known as garbanzo beans) and tahini. For classic hummus, you’ll generally mix the chickpeas and tahini with garlic, olive oil, salt, pepper, herbs, lemon juice, and some cool water to bring it all together. But you can get super creative and build out any flavor combination you desire with your favorite ingredients or anything you have on hand.
In this homemade rosemary hummus, the ingredients you’ll need are:
- Dry chickpeas
- Baking soda
- Tahini
- Garlic
- Lemon
- Fresh rosemary
- Extra virgin olive oil
- Salt & pepper
- Ice water
- Crackers, chips, and/or veggies for dipping
What is tahini?
Tahini is a creamy paste made from sesame seeds. You can usually find it in the same grocery store aisle as nut butters. It has a wonderful earthy, nutty flavor to it, making it a great base for salad dressings, sauces, marinades, and of course—dips like hummus! It’s a big part of Mediterranean and Middle Eastern cuisine, so if you enjoy tahini and would like to eat it more often, try out some classic dishes from these regions like baba ganoush and falafel.
Why rosemary?
Rosemary brings charisma to our hummus blank canvas. She has an earthy and piney-woodsy flavor that cuts through the richness of tahini and olive oil, providing both balance and intrigue. Roasting the rosemary is important, though, because it mellows out some of that aromatic intensity and draws out its natural oils, delivering a deeper, warmer flavor that harmonizes with the dip instead of overpowering it.
If you’ve ever had a rosemary plant take over your kitchen windowsill or garden, or bought some at the store and aren’t sure what to do with all of it, this recipe is a perfect way to put it to good use. A little goes a long way, but when used thoughtfully, it adds both flavor and a subtle sense of intention to an otherwise classic hummus.

How to make this homemade hummus
Choose your start time wisely.
I’d call this recipe easy, but I wouldn’t call it quick. It’s one you have to plan a bit ahead for, as you need to soak the chickpeas for multiple hours before cooking them.
Soak + cook chickpeas.
Measure out your dry chickpeas (8oz) and place them in a big bowl. Sprinkle a tablespoon of baking powder over them. Fill the bowl about halfway with water; there should be at least 1-2 inches between the top of the water and the chickpeas. Give it all a gentle stir, then set it aside on the countertop and leave it alone for at least 6-8 hours. (I like to soak them overnight because then they’re all ready to go whenever I’m ready to cook them up during the day I want to serve the hummus.)
Cook your soaked chickpeas in a stove pot. I recommend using the same water you used for soaking. (Not a flavor thing, more of a non-wasteful thing!) Bring them to a boil then down to a simmer. While they cook, prep your other ingredients.
Roast your rosemary.
While the chickpeas are simmering, heat a dry skillet over medium-low heat. No oil needed here—the rosemary has plenty of natural oils just waiting to wake up.
Add the rosemary sprigs to the pan and toast them for 5–10 minutes, stirring frequently so they don’t burn. You’re looking for a deep, fragrant aroma and needles that feel dry and easy to crush between your fingers.
Once they’re all roasted and ready, remove them from the skillet and let them cool completely on a plate. When cool, strip the needles from the stems and lightly crush them with your fingers, or chop them finely, so that they’re ready to blend into the hummus!


Blend everything up.
Once the chickpeas are sufficiently cooked, you’ll drain them with a strainer then add them to your food processor. Pulse them a few times. Add the garlic, tahini, lemon juice, roasted rosemary, and seasonings. Turn the food processor on so that it continuously blends everything together. As it blends, slowly stream in the ice-cold water to help bring everything together. Stop the food processor every once in a while and use your rubber spatula to push down any ingredients that are sticking to the sides of the bowl.
Eat!
Once the consistency looks good to you, turn off the processor and give the hummus a taste. Add more seasonings as needed and pulse some more. Once it looks and tastes how you like, pour it out into a bowl, add some garnishes, and serve it up with crackers (or your favorite dipping vehicles) and enjoy!
Hummus tastes great at room temperature. But if you prefer it cold, place it in the fridge to enjoy later.

Tips for maximum enjoyment
- Garnish = greatness. Before you serve it, top your hummus with any leftover rosemary, lemon zest, and a drizzle of olive oil. It’ll make it look better and taste better. If you want to lean into the lemony flavor with lemon zest, remember to zest your lemon before juicing it!
- Do not skip the baking soda. Baking soda is the secret weapon of homemade hummus. Because of the way it interacts with the chickpeas during the soaking and cooking steps, it really helps us achieve that silky-smooth and creamy texture that’ll set your hummus apart from others.
- Skin the chickpeas. If you have some time after the chickpeas are finished cooking, I recommend separating out any skins from the beans. This isn’t essential, but will help maximize the dip’s creaminess.
- Balance the rosemary. Rosemary is strong. Start with a moderate amount—you can always add more, but you can’t take any out once it’s blended up!
Complimentary dishes
Planning a cookout or hosting a dinner? Roasted rosemary hummus will shine as an appetizer for any casual event. Here’s some inspiration for the rest of your menu:
- Grilled chicken or steak
- Baked potatoes
- Roasted vegetables
- Warm pita or flatbread
- Mediterranean-style salads
- BLT lettuce wraps
- Cheese boards
Roasted Rosemary Hummus
This roasted rosemary hummus is smooth, creamy, and layered with warm, herby flavor that sets it apart from your everyday version. Whip it up for your next event, then sit back and watch as your guests obsess.
moderate-
Prep time: 8 hours -
Cook time: 45 minutes -
Total time: 8 hours 45 minutes
Ingredients
| Hummus | |
|---|---|
| 8oz dry chickpeas | |
| 2 | tsp of baking soda, divided |
| 6 | cups water |
| ¾ cup tahini | |
| 2–3 sprigs fresh rosemary | |
| 4 | cloves of garlic |
| 1/2 | lemon, zested and juiced |
| Salt and pepper, to taste | |
| 2 | Tbsp extra virgin olive oil |
| ~2 cups ice water (you won’t use all of it) | |
| Garnish | |
| 1 | Tbsp extra virgin olive oil |
| Flakey salt | |
| Zest from lemon (optional) | |
| Finely chopped roasted or fresh rosemary (optional) | |
| For Dipping (choose your favorites!) | |
| Crackers | |
| Veggies like bell peppers, carrots, celery, cucumbers, etc. | |
| Pita | |
| Naan | |
| Crusty bread | |
Utensils
- Big bowl (something you’d eat popcorn out of)
- Measuring cups
- Spoon
- Stove pot
- Strainer
- Knife + cutting board for produce prep
- Food processor
- Rubber spatula
- Liquid measuring cup
- Pretty bowl/dish for serving
- Tupperware for storing the leftovers, if there are any!
Steps of preparation
- Place dry chickpeas and 1 tsp of baking soda in a big bowl. Stir so the baking soda gets evenly distributed. Cover with 6 cups of water. Put the bowl in a safe space on your counter and ignore it for at least 6-8 hours. To make it extra easy, let it rest overnight.
- Carefully pour the sufficiently soaked chickpeas along with the water into a stovetop pot. Add the other tsp of baking soda. Bring to a boil. Cover the pot and adjust heat so it maintains a rolling boil. Cook for 30 minutes.
- While the chickpeas are cooking, heat a dry skillet over medium-low heat. Add the rosemary sprigs and toast for 5–10 minutes, stirring frequently so they don’t burn. You’re looking for a deep, fragrant aroma and needles that feel dry and easy to crush. Remove from heat and let cool completely. Strip the needles from the stems and lightly crush or finely chop them.
- While the rosemary cools, return your attention to the chickpeas. Once their 30-min cooking time is up, add a pinch of salt and bring the heat down to a simmer. Then let it continue cooking for about 10 more minutes, until the chickpeas are easily smushable.
- Drain the chickpeas with a strainer. Add them to your food processor. Pulse for a minute or so. Use your rubber spatula to scrape down the sides. Pulse until the chickpeas have turned into a smooth-ish puree.
- Add tahini, garlic, crushed roasted rosemary, the juice of half your lemon, salt, pepper, and 2 Tbsp of evoo to the food processor with the pulsed chickpeas.
- Continue blending, adding the cold ice water 1 Tbsp at a time. You (likely) won’t have to use all 2 cups of it. Just add enough until the hummus achieves a texture that looks nice to you. Be careful to not drop any ice cubes into the food processor, though if you do, it’s not the end of the world!
- Stop blending. Dip a spoon into the hummus and give it a taste. Add more seasonings as needed.
- Pour the hummus out into a serving dish. Garnish with a drizzle of evoo and some flakey salt. You can also add some lemon zest and/or any leftover rosemary if you want to lean into either of those flavors more heavily.
- Serve with crackers, chips, veggies, bread, and any other dipping apparatuses you love!
Leave a Reply